



















Instructions
This template includes a preloader — the branded loading screen that shows briefly while the page loads, displaying your logo before revealing the content. It's built as a reusable component, so you edit it once and every instance across the site updates automatically.
How it works (high level)
The preloader lives at the very top of the page as a component. Inside it, wrap_preloader-logo holds two things: a code embed named logo-preloader, which contains the logo as an inline SVG, and animation_preloader, which drives the reveal animation. Because the logo is an SVG using currentColor for its fill, it inherits its color from your styling and adapts to your palette automatically.
How to replace the logo
Because the preloader is a component, you replace the logo by editing the component — do it once and it updates everywhere the preloader is used.
- Select the preloader and open it for editing (Edit component).
- Inside
wrap_preloader-logo, find the code embed namedlogo-preloader. - Open that embed — you'll see the SVG markup for the current logo. Replace it with your own logo's SVG.
- To get your SVG: in Figma, select your logo and choose Copy as SVG (right-click → Copy/Paste as → Copy as SVG), then paste it into the embed.
- Make sure your SVG uses
currentColorfor its fill rather than a hard-coded color — replace anyfill="#______"withfill="currentColor". This is what lets the logo pick up its color from your styling and stay consistent with your palette.
A currentColor SVG looks like this:
<svg viewBox="0 0 120 32" xmlns="http://www.w3.org/2000/svg">
  <path d="…your logo path…" fill="currentColor"/>
</svg>
Removing or adding the preloader
- Don't want a preloader? Delete the whole preloader component from the page — nothing else depends on it.
- Want it on more pages? Add the preloader component to the top of any page where you want it to appear.
Where the code lives
The logo SVG is inside the logo-preloader code embed, which sits within the preloader component — edit it in the Designer via the component, not in Project Settings. Since it's a component, one edit applies to every page that uses it.
Important notes
- It's a component — editing the logo once updates every instance across the site.
- Keep
fill="currentColor"on your SVG so the logo inherits its color correctly; a hard-coded fill will lock it to one color and may not match your palette. - Paste the logo as an inline SVG (not an
<img>), so it stays crisp and color-adaptive. - Keep the
logo-preloaderembed and thewrap_preloader-logowrapper intact so the animation still targets the right elements.
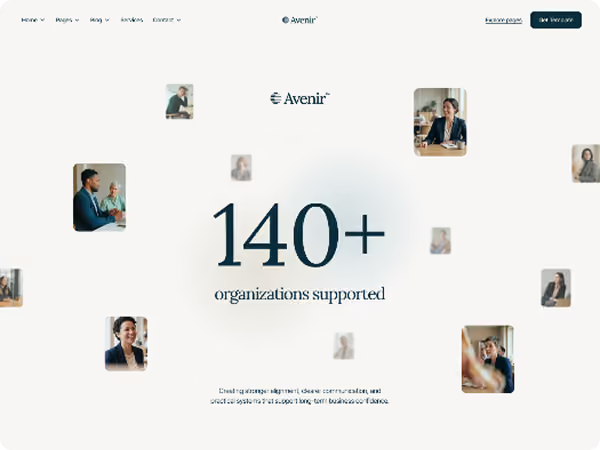
This template includes a global script that makes any number count up from zero when it scrolls into view, with a soft blur that resolves as the number settles into place. It's used for the proof stats throughout the template. Each counter runs once — the first time it enters the viewport.
How it works (high level)
The script finds every element carrying the count-up attribute. For each one it reads the text you've typed in as the target value — a small helper strips out formatting and works out whether the last separator is a decimal point or a thousands separator, so both 1,200 and 1.200 are read correctly. It also captures any non-numeric suffix (like +, %, k, M). When the element reaches 80% down the screen, a GSAP timeline runs once: the element blurs from 6px down to sharp, while a counter animates from zero to the target. On each frame the number is snapped to a whole value, re-formatted with thousands separators, and the suffix is re-attached.
How to use it
- Select the text element that holds the number.
- Add the custom attribute
count-upto it (attribute namecount-up, no value needed). - Type the final number straight into the element in the Designer — that typed value is the target the counter climbs to.
- Any suffix is kept automatically:
250+,98%,1.2k,40Mall work — just type them into the element.
Where the code lives
The script is added once, globally:
- Project Settings → Custom Code
- Place it in the Footer (Before
</body>) section
The code
<script>
gsap.registerPlugin(ScrollTrigger);
function parseFormattedNumber(str) {
  var num = str.replace(/[^\d.,]/g, "");
  var decimal = num.match(/[.,](\d{1,2})$/);
  return parseFloat(decimal
    ? num.slice(0, decimal.index).replace(/[.,]/g, "") + "." + decimal[1]
    : num.replace(/[.,]/g, "")
  );
}
gsap.utils.toArray("[count-up]").forEach(function(el) {
  var raw = el.textContent.trim();
  var target = parseFormattedNumber(raw);
  var suffix = raw.replace(/[\d,.]/g, "");
  var counter = { val: 0 };
  gsap.timeline({
    scrollTrigger: { trigger: el, start: "top 80%", once: true }
  })
  .fromTo(el, { filter: "blur(6px)" }, { filter: "blur(0px)", duration: 2.25, ease: "power2.out" }, 0)
  .to(counter, {
    val: target,
    duration: 2,
    ease: "power2.out",
    onUpdate: function() {
      el.textContent = gsap.utils.snap(1, counter.val).toLocaleString() + suffix;
    }
  }, 0);
});
</script>
Want to tweak it (optional)
- Count speed: change
duration: 2on the counter (higher = slower count). - Blur amount and speed: change
blur(6px)for a stronger/softer start, andduration: 2.25for how long it takes to sharpen. - Trigger point: change
start: "top 80%"— how far down the screen the element must scroll before it fires.
Important notes
- This requires GSAP + ScrollTrigger to be loaded on the site.
- Each counter fires once, the first time it scrolls into view.
- Whole numbers only — the count snaps to integers, so decimals in the target get rounded. For a decimal stat, set it as static text without the attribute.
- Only a suffix is preserved. A leading symbol like
$1,200gets pushed to the end (1,200$). For currency, put the symbol in a separate element next to the number, or use it as a suffix. - Keep the
count-upattribute on any element you want animated.
This template includes Lenis, which adds smooth, weighted scrolling across the whole site — the slightly eased, "heavier" scroll feel rather than the browser's default jump. It runs automatically site-wide.
How it works (high level)
The Lenis stylesheet and library are loaded from a CDN, then a Lenis instance is created and driven by a requestAnimationFrame loop that runs every frame. Two values shape the feel: lerp controls how much the scroll is smoothed, and wheelMultiplier controls scroll speed. Touch smoothing is switched off, so phones and tablets keep their native scrolling.
How to use it
Nothing to set up per page — it works automatically as soon as the page loads. There are no classes or attributes to add.
Where the code lives
The code is added once, globally:
- Project Settings → Custom Code
- Place it in the Footer (Before
</body>) section
<link rel="stylesheet" href="https://unpkg.com/lenis@1.2.3/dist/lenis.css">
<script src="https://unpkg.com/lenis@1.2.3/dist/lenis.min.js"></script>
<script>
let lenis = new Lenis({
  lerp: 0.1,
  wheelMultiplier: 0.7,
  gestureOrientation: "vertical",
  normalizeWheel: false,
  smoothTouch: false,
});
function raf(time) {
  lenis.raf(time);
  requestAnimationFrame(raf);
}
requestAnimationFrame(raf);
</script>
Want to tweak it (optional)
- Smoothness: change
lerp: 0.1— lower is floatier and smoother, higher is snappier and closer to native. - Scroll speed: change
wheelMultiplier: 0.7— raise it if scrolling feels too slow.
Important notes
- Keep both the stylesheet
<link>and the Lenis<script>in place — remove either and smooth scroll stops working. - No GSAP dependency; Lenis runs on its own.
- Touch devices intentionally use native scrolling (
smoothTouch: false) — recommended, leave as is.